Driving test machine variability out of the material testing equation is critical to every test lab’s success, so we understand how important it is for test engineers to feel confident about their displacement measurements. To help you minimize machine variability and deliver reliable test results, MTS recommends annual displacement calibration to traceable standards.
The linear variable displacement transducer (LVDT) has long been a preferred displacement measurement device for material test systems. In general and over a long period of time, the testing industry has simply tended to accept that LVDTs are just not as linear or repeatable as other measurement transducers within the test system. LVDTs are prone to greater non-linearity performance over different portions of their travel than typical strain-gage transducers. What this means is that starting the same test from different actuator and crosshead positions will induce some slight variability into the raw displacement feedback. The majority of commercially available LVDTs do not consistently meet MTS linearity requirements across the 2% to 100% range.
MTS employs displacement calibration using the ASTM E2309 standard to address this non-linearity issue.
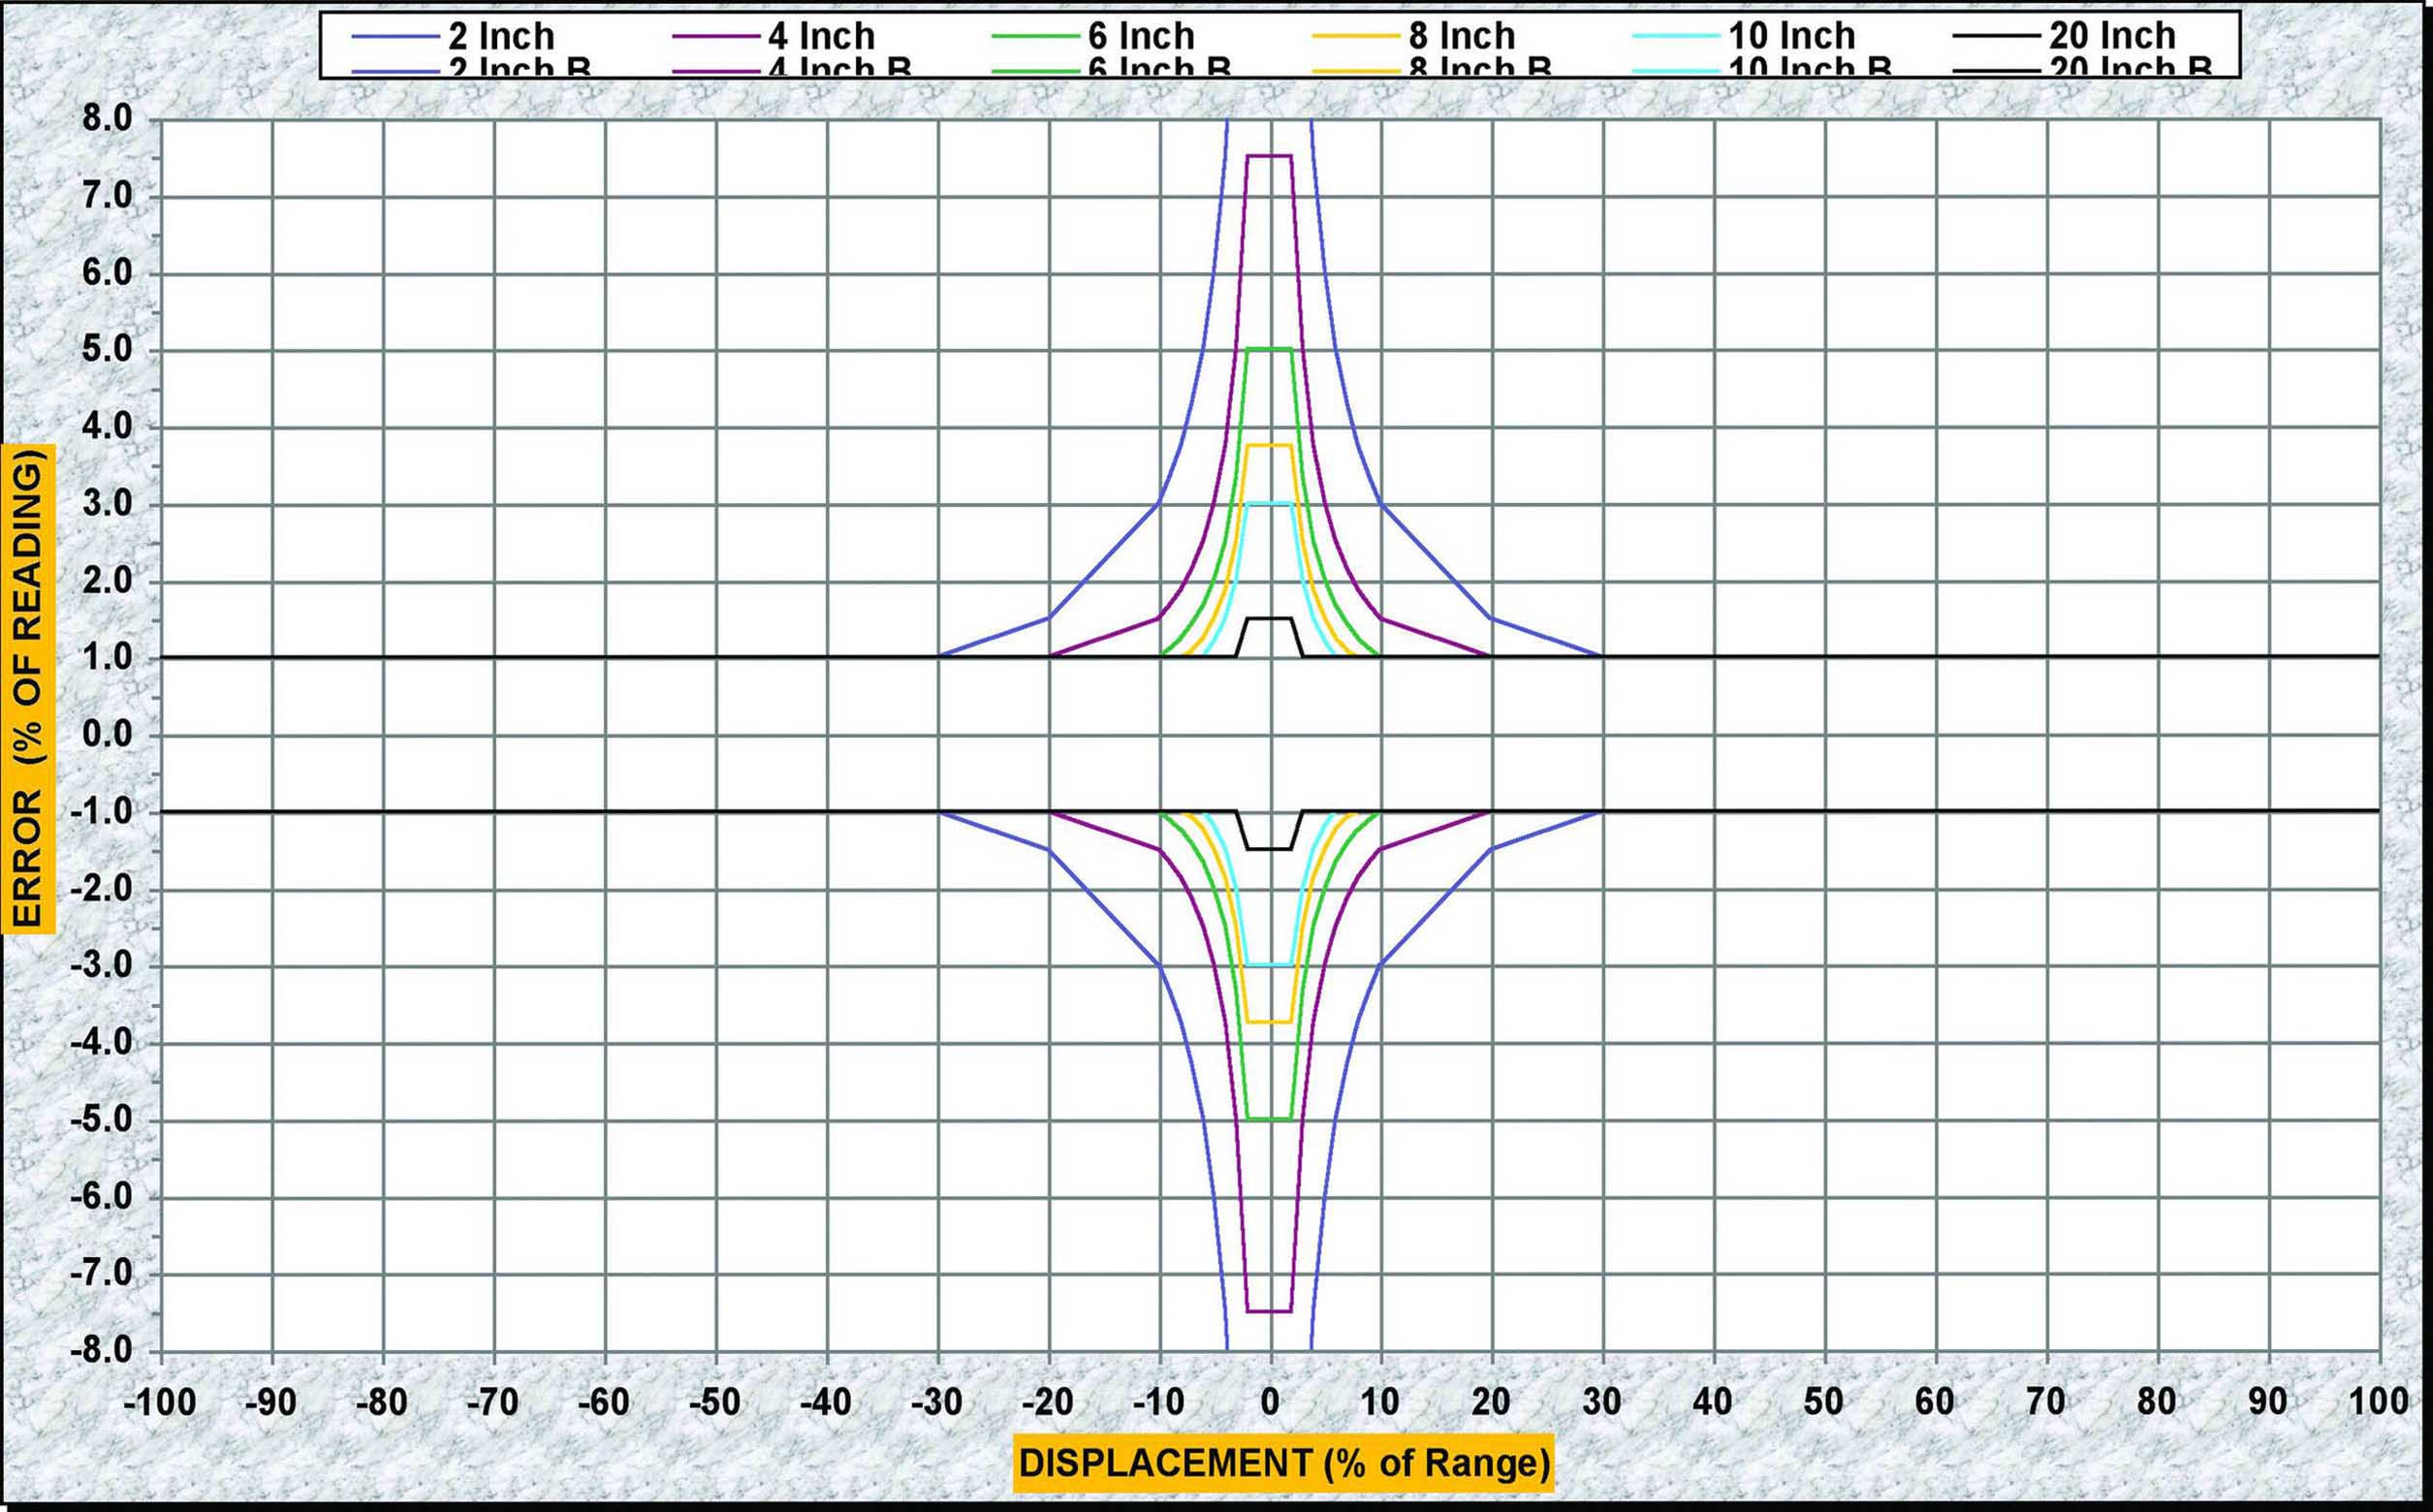
First published in 2005, ASTM E2309 verifies LVDTs and other displacement measurement devices used on material test systems. The primary attributes of ASTM E2309 produce data that will instill greater confidence in your displacement measurements.
How does ASTM E2309 improve accuracy? It provides a method to classify different portions of the physical range as well as the entire range. The ASTM E2309 standard requires two runs of data, helping to capture variance within runs and validate measurement repeatability. Each classification offers relative error criterion in percentage of displacement, plus a fixed error allowable for measurements close to zero. In addition, four levels of accuracy classification within ASTM E2309 provide a consistent reference for displacement measurement, along with the means to establish specific accuracy classification requirements.
The MTS calibration service advantage
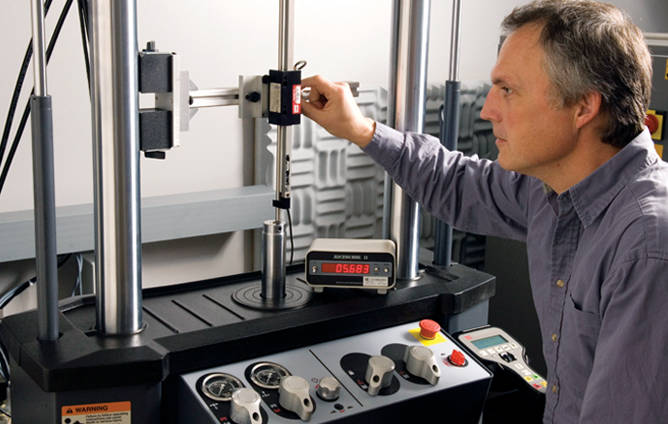
MTS Field Service Engineers perform end-to-end calibration. This system-level field calibration involves all system components – transducer, cables, conditioners and controllers. When all elements are evaluated as a unit, considerable uncertainty is eliminated. Contact us to learn more about how MTS Calibration Solutions can benefit your testing.

