With more than 25 years of experience in materials testing, metallurgy and system engineering, MTS staff scientist Dr. Erik Schwarzkopf brings unique expertise to customer engagements. In this Q&A, he discusses the challenges in measuring how cracks form, grow and change.
Q: Why is crack measurement important?
A: Cracks happen. Some are created during the manufacturing process, and some develop when the product or component is used. Understanding how cracks form, grow and change helps engineers and product designers discover potential component failure, mitigate problematic material behavior and design defect-tolerant products and structures.
Q: Why might engineers want to measure crack length across different loads and thermal conditions?
A: Components are used in a variety of environments, so engineers need to understand how they will behave in these real-world conditions. Different crack measurement techniques are better suited to a particular application based on the material, specimen geometry and the type of crack being measured. Frequently there is a tradeoff between appropriateness for the application and ease of use because some measurement techniques work better in some environments than others. For this reason, it can be especially challenging to measure cracks at non-ambient temperatures; and at the highest temperatures, above the melting point of most metals, nothing works well.
Q: What methods are used to measure crack lengths and what are the challenges of the various crack measurement techniques?
A: The oldest method is to look for a crack – either by human observation or with a camera. There are challenges posed by this method when there are unusual specimen geometries or issues with lighting.
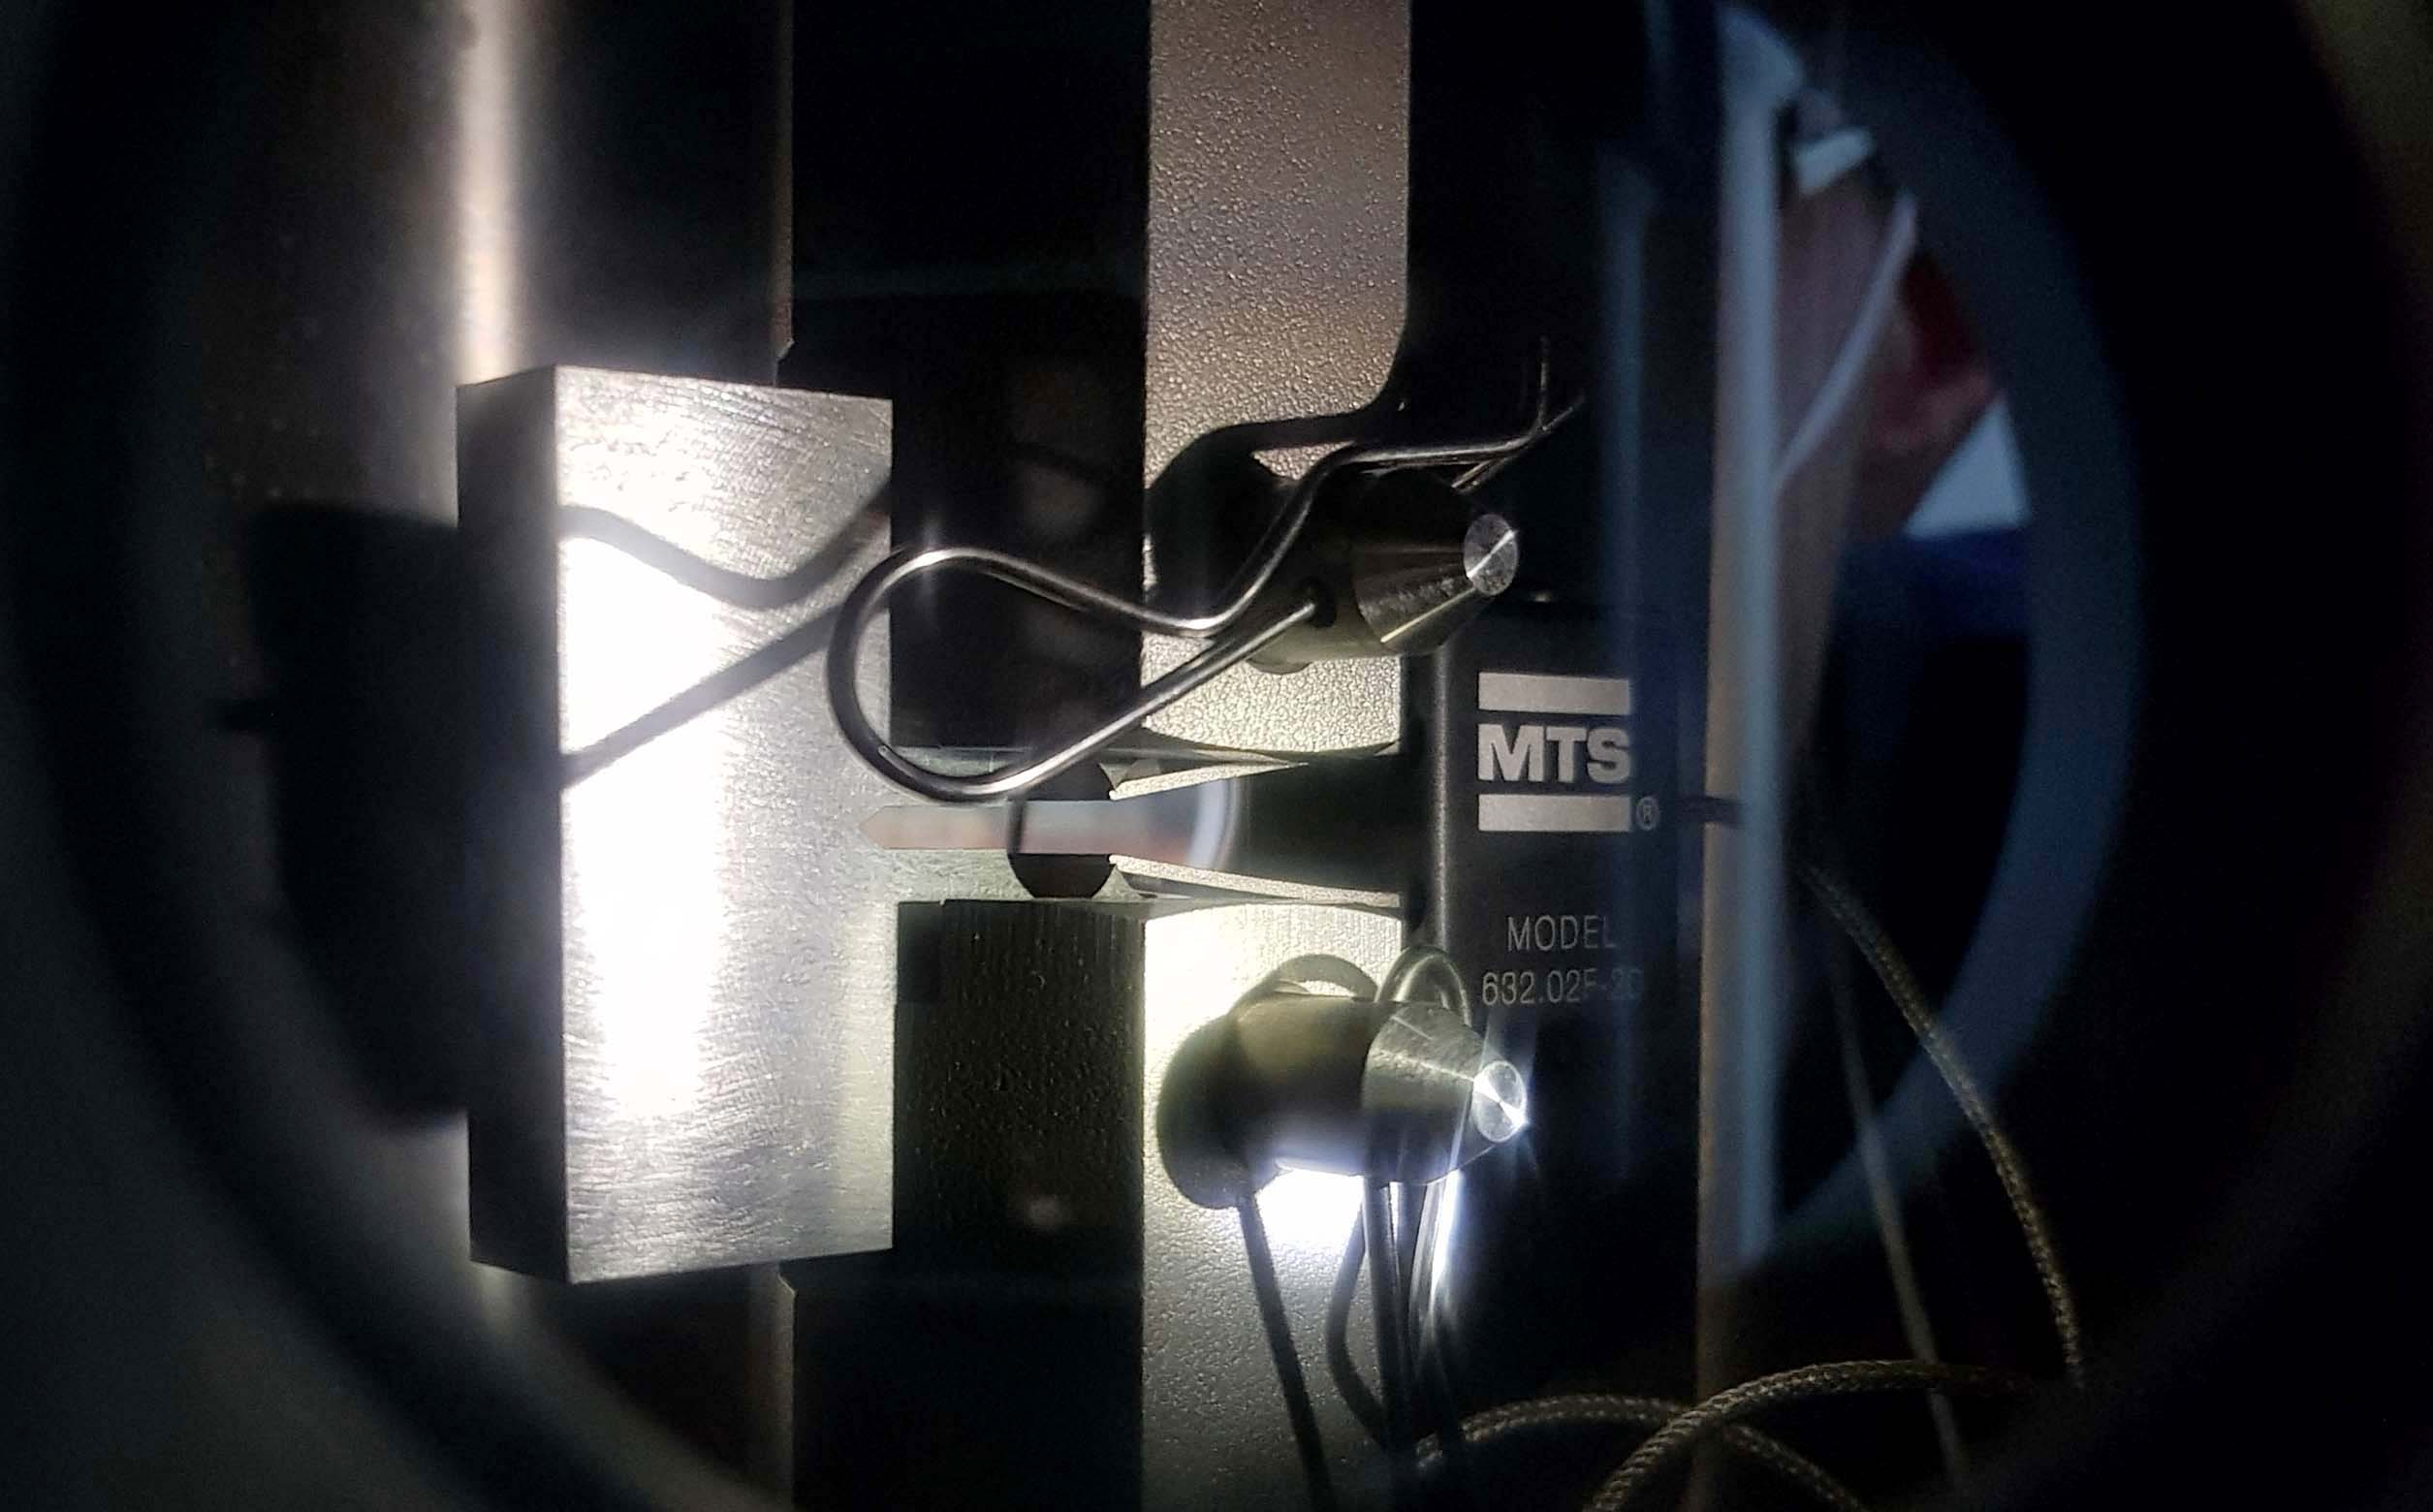
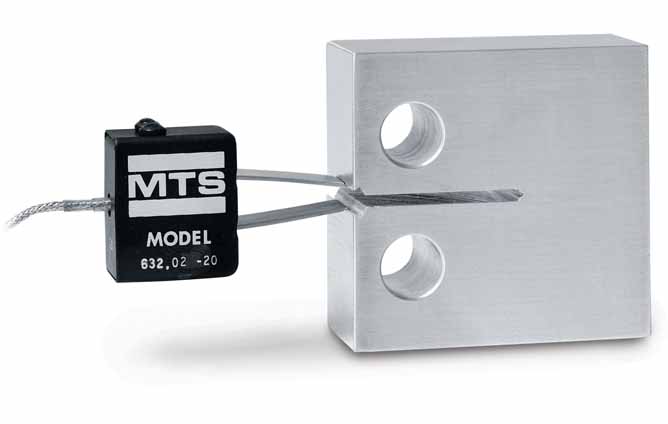
A second method, called compliance, is used for a crack that changes the stiffness of the specimen. With the compliance technique, you measure load and displacement and correlate the slope of the load/displacement line, or the stiffness, with the crack length. Compliance is the inverse of stiffness. As the crack grows, the stiffness decreases and the compliance grows. This technique is used for long cracks, not short cracks such as surface flaws or corner cracks, because the short cracks don't show a significant change in specimen compliance due to the growing cracks. It is rarely used to determine crack initiation because by the time you notice a change in compliance due to initiation, the crack is large.
A third method, available for electrically conductive materials, is Electric Potential Drop in which a power supply drives constant current through the specimen. A thick specimen with a low resistance requires a lot of current (typically more than 1 Amp, and sometimes as much as 10-20 Amps) along with a lot of amplification of the measured electrical potential. For non-conducting specimens, researchers glue thin metallic foils to the specimen surface. The foil and backing must be weak enough to tear when the underlying specimen cracks, but must not strengthen the specimen itself. There can be measurement repeatability issues with foils because they can be placed inconsistently, or the glue can be different thicknesses.
Another method that can be used on brittle specimens like rock, is acoustical emission. In this case, a microphone is placed on the specimen to measure sound. The drawbacks of this method can be that it can be difficult to localize the crack or tell how long it is.
Q: What solutions does MTS offer for crack length measurement?
A: MTS offers extensometers that can be used in compliance measurements for a variety of specimen sizes. Typical compressed gage length is 5mm to 12 mm, and typical travel is 3mm to 5mm. MTS has extensometers for room temp and elevated temp, including those that can be used inside an environmental chamber.
We also have a Direct Current Potential Drop (DCPD) system which provides a constant current between 1 amp to 20 amps and is most commonly used for metallic specimen, which require amplification of 5000x or more. Our DCPD systems start at amplification of 5000x or more and can go as high as 100000x. By contrast, strain gage conditioners start at 500x and can go to 5000x but can’t go to 50000x.
One of the advantages of choosing an MTS DCPD system is that we can offer the software, electronics and load frame for a complete solution. Our load frames are electrically isolated, which is important because you want to current to go through the specimen, not the outside frame. We can make our grips electrically isolated too. MTS has used DCPD solutions in both static and dynamic tests.
Finally, MTS offers acoustic emission solutions for rock mechanics.
Q: How can crack measurement impact the design or life of a new or existing part?
A: If you can understand where a crack is and during what process it occurred, you can mitigate risk. If you understand how the crack grows and when, you can redesign geometries and make decisions about inspection cycles and retirement cycles. Crack measurement helps determine what areas need to be re-examined or redesigned.
Q: What does the future hold for crack length measurement?
A: Interest in developing lighter weight materials and alternative fuels for increased energy efficiency and developing materials that can withstand hotter and more corrosive environments are worldwide concerns that are creating new materials testing challenges. Experimental techniques for these new materials at these new temperatures are lacking today. For example, if you need to test engine components at higher temperatures, and you can’t grip the component with a metal grip because it would melt, it creates an issue. Of course, not everything is going to be hot, and researchers can remotely monitor cracks with sensors in cooler regions, but then the researcher must sort of how much of the measured value is due to a crack and how much is experimental artifacts. The researcher must understand the interaction of various experimental components.
There is also interest in changing the temperature during the loading cycle and looking at thermomechanical fatigue and fatigue crack growth simultaneously. If using electrical potential techniques, you have to sort out how much electrical resistance is due to temperature and how much is due to crack length. New standards and techniques will need to be developed to measure what is going on with new materials at higher temperatures.

